


Managing water runoff from our homes is a big deal, especially when it comes to our downspouts. We’ve been looking into ways to handle this, and integrating rain gardens seems like a smart approach. It’s not just about aesthetics; it’s about making sure our yards don’t get flooded and that water goes where it should. We’re going to talk about how to connect these gardens with what we already have, like patios and walkways, and make sure they work well together. This means looking at where the water comes out of the downspouts and picking the best spot for the garden.
Key Takeaways
- We need to look at where our downspouts currently send water and figure out the best place for a rain garden, making sure it fits with our existing hardscaping drainage solutions.
- Picking the right plants that like wet feet and using materials that let water soak in are important steps for a good rain garden.
- A well-placed and well-designed rain garden can help manage water from downspouts and work with the hardscape features we already have.
Integrating Rain Gardens with Existing Hardscaping Drainage Solutions
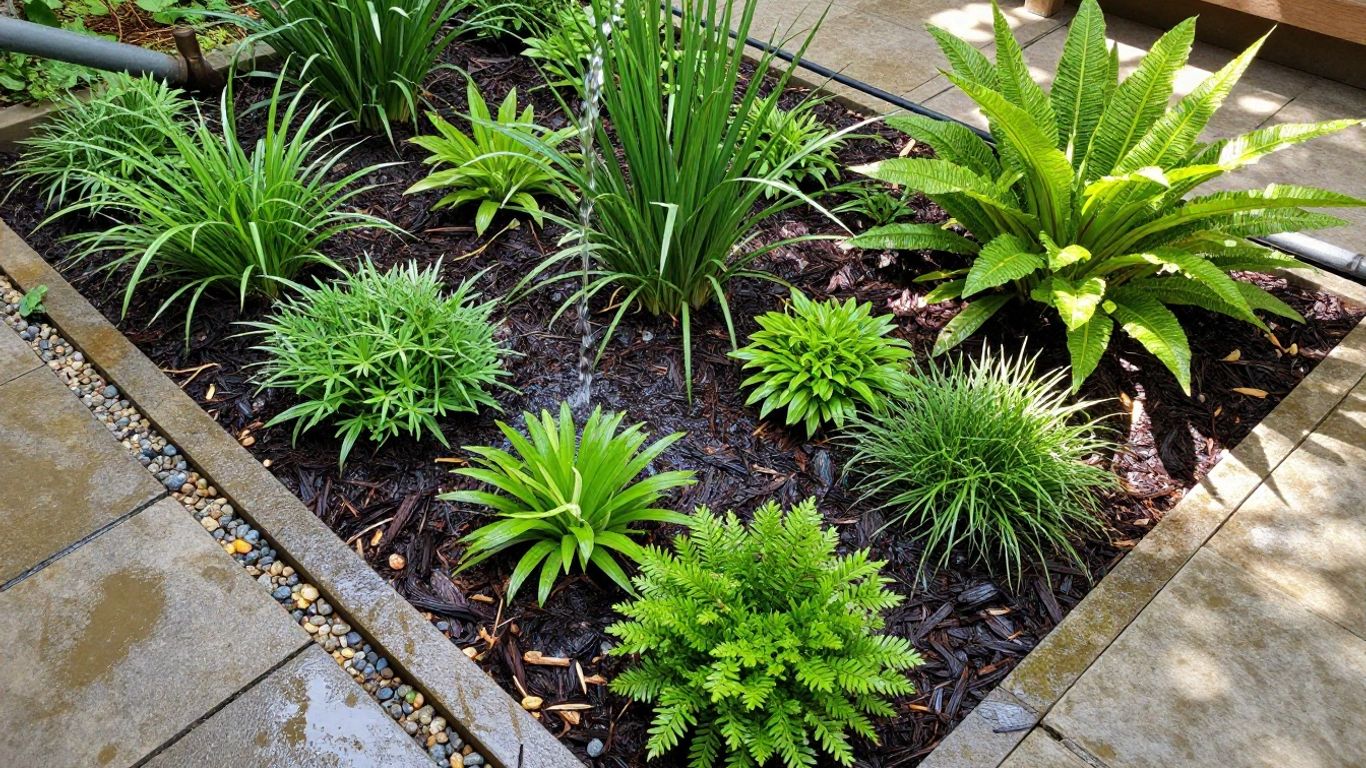
When we decide to put in a rain garden, we often think about where the water should go, but we also need to look at where it’s already going. Our downspouts are a big part of that picture. They channel water from our roofs, and if we just let it pour onto the lawn or, worse, a driveway, it can cause problems like erosion or flooding. So, the first step is figuring out exactly where that water ends up.
Assessing Downspout Discharge Points
We need to walk around our property and see where each downspout is currently dumping water. Sometimes, they’re already connected to underground pipes that lead away, maybe to a storm drain or just further down the yard. Other times, they just end abruptly, creating a small waterfall onto a patio or garden bed. We should make a note of each one. A simple sketch of our house and yard, marking each downspout and its current discharge point, can be really helpful. We’re looking for areas where the water is causing issues or where it’s just being wasted.
Here’s a quick way to check:
- Observe after a good rain.
- Look for puddles or muddy spots.
- Check for water flowing towards the house foundation.
Choosing the Right Location for Your Rain Garden
Once we know where the water is coming from and where it’s going, we can pick the best spot for our rain garden. Ideally, we want to place it somewhere that can naturally receive runoff from one or more downspouts. This means looking for low spots in the yard, but not so low that it becomes a swamp all the time. We also need to consider how far the downspout is from the potential garden spot. Extending downspouts with flexible piping or solid PVC is a common and effective way to direct water to a more suitable location. We don’t want the water sitting too close to the house’s foundation, either. A good rule of thumb is to keep it at least 10 feet away. We also need to think about sunlight – some plants need full sun, others prefer shade. The soil type matters too; we’re aiming for soil that drains reasonably well, but not so fast that the water just disappears instantly. It’s a balancing act, really.
We’re essentially creating a small, beautiful depression in the landscape that acts like a temporary sponge, soaking up rainwater before it can become a problem.
Designing Your Rain Garden for Optimal Water Management
Now that we’ve figured out where our rain garden will go, it’s time to get into the nitty-gritty of making it work well. This part is all about setting it up so it can actually do its job of handling that water from your downspouts.
Selecting Appropriate Native Plants
Picking the right plants is more than just making your garden look pretty. Native plants are our best bet here because they’re already used to our local weather patterns and soil. They don’t need a lot of fussing over, like constant watering or special fertilizers, which is exactly what we want for a low-maintenance rain garden. Plus, they’re great for local wildlife. We should aim for a mix of plants that can handle both wet feet and drier spells, as the soil in a rain garden will go through these cycles.
Here are some types of native plants that generally do well:
- Grasses and Sedges: Think about plants like Switchgrass (Panicum virgatum) or various sedges (Carex spp.). They have strong root systems that help with soil stability and water absorption.
- Perennials: Coneflowers (Echinacea purpurea), Bee Balm (Monarda didyma), and Asters (Symphyotrichum spp.) add color and attract pollinators. Many of these can tolerate periods of wetness.
- Shrubs: For a bit more structure, consider shrubs like Serviceberry (Amelanchier spp.) or Elderberry (Sambucus canadensis). They can handle moist conditions and provide habitat.
The key is to choose plants that are adapted to the specific moisture levels you expect in your rain garden. Some areas might stay wetter longer than others, so a variety is good.
Incorporating Permeable Materials
What we put in the rain garden matters just as much as what we put around it. The goal is to let water soak into the ground, not just sit there or run off elsewhere. This means thinking about the soil mix and any mulch we use.
We’ll want to amend the existing soil with compost and sand to improve drainage. A good mix helps water move through the soil profile more effectively. Avoid using heavy clay soils or compacting the area too much during construction.
For mulch, we should use something that won’t wash away easily but still allows water to penetrate. Wood chips or shredded bark are usually good choices. We want to avoid gravel or small stones in the main planting areas, as they can compact the soil and hinder water infiltration over time.
The success of a rain garden hinges on its ability to absorb water. This means we need to be mindful of every material we introduce, from the soil composition to the top layer of mulch. Our choices directly impact how well the garden functions and how long it lasts without needing major fixes.
When we’re building, we should also think about the inlet and outlet. The inlet is where the water from the downspout will enter the garden. We might want to place a few larger stones or a small berm here to slow the water down and prevent erosion. The outlet is for overflow, just in case we get a really massive storm. This should be designed to direct excess water safely away, perhaps to another part of the yard or a storm drain, without causing damage.
Wrapping Up Our Rain Garden Project
So, we’ve gone through the steps of setting up a rain garden to handle water from our downspouts. It’s not the most complicated thing, but it does take some thought. We hope this guide helps you get started. Watching the water soak into the ground instead of rushing off is pretty satisfying. It’s a good feeling knowing we’re doing a little something for our yards and the local waterways. Give it a try; you might be surprised at how manageable it is.
Frequently Asked Questions
Where should we aim to put our rain garden when dealing with water from our roof gutters?
We should first look at where the water from our downspouts currently goes. Finding a spot that’s downhill from these discharge points is usually best. We want the rain garden to naturally catch the water as it flows away from our house’s foundation. Think about areas that tend to get soggy after it rains; these can be good candidates.
What kinds of plants work best in a rain garden, and why?
For our rain gardens, we want to pick plants that are native to our area. These plants are already used to our local weather, including wet spells and dry spells. They have strong roots that help soak up water and keep the soil healthy. Choosing native species also helps local bugs and birds, making our yard a better home for wildlife.
Besides plants, what else can we add to our rain garden to help it manage water better?
We can use materials that let water soak through easily, like gravel or mulch, especially around the edges and in the bottom of the garden. These permeable materials help slow down the water and give it more time to sink into the ground instead of running off. Sometimes, we might even add a small berm, which is like a little hill, to help guide the water into the garden.
